Last reviewed: July 19, 2026
An apartment move-in inspection checklist gives you a dated record of the home before furniture and boxes hide the details. The useful result is not a perfect photo album. It is a short, organized condition report that the property manager can acknowledge, plus a separate list of anything that needs attention.
Rental rules and required forms vary by state, city, housing program, and lease. Use your landlord’s form when one is provided, and check the instructions from your local housing agency or court. This independent guide is practical information, not legal advice.
Set up your apartment move-in inspection checklist
Ask where the move-in condition form should be submitted, who receives it, and how you will know it was received. Check the lease or resident portal for a submission window rather than assuming one. If a deadline or required format is not clear, ask in writing.
Have these items ready:
- the landlord’s condition form or a room-by-room note;
- a phone or camera with enough storage and charge;
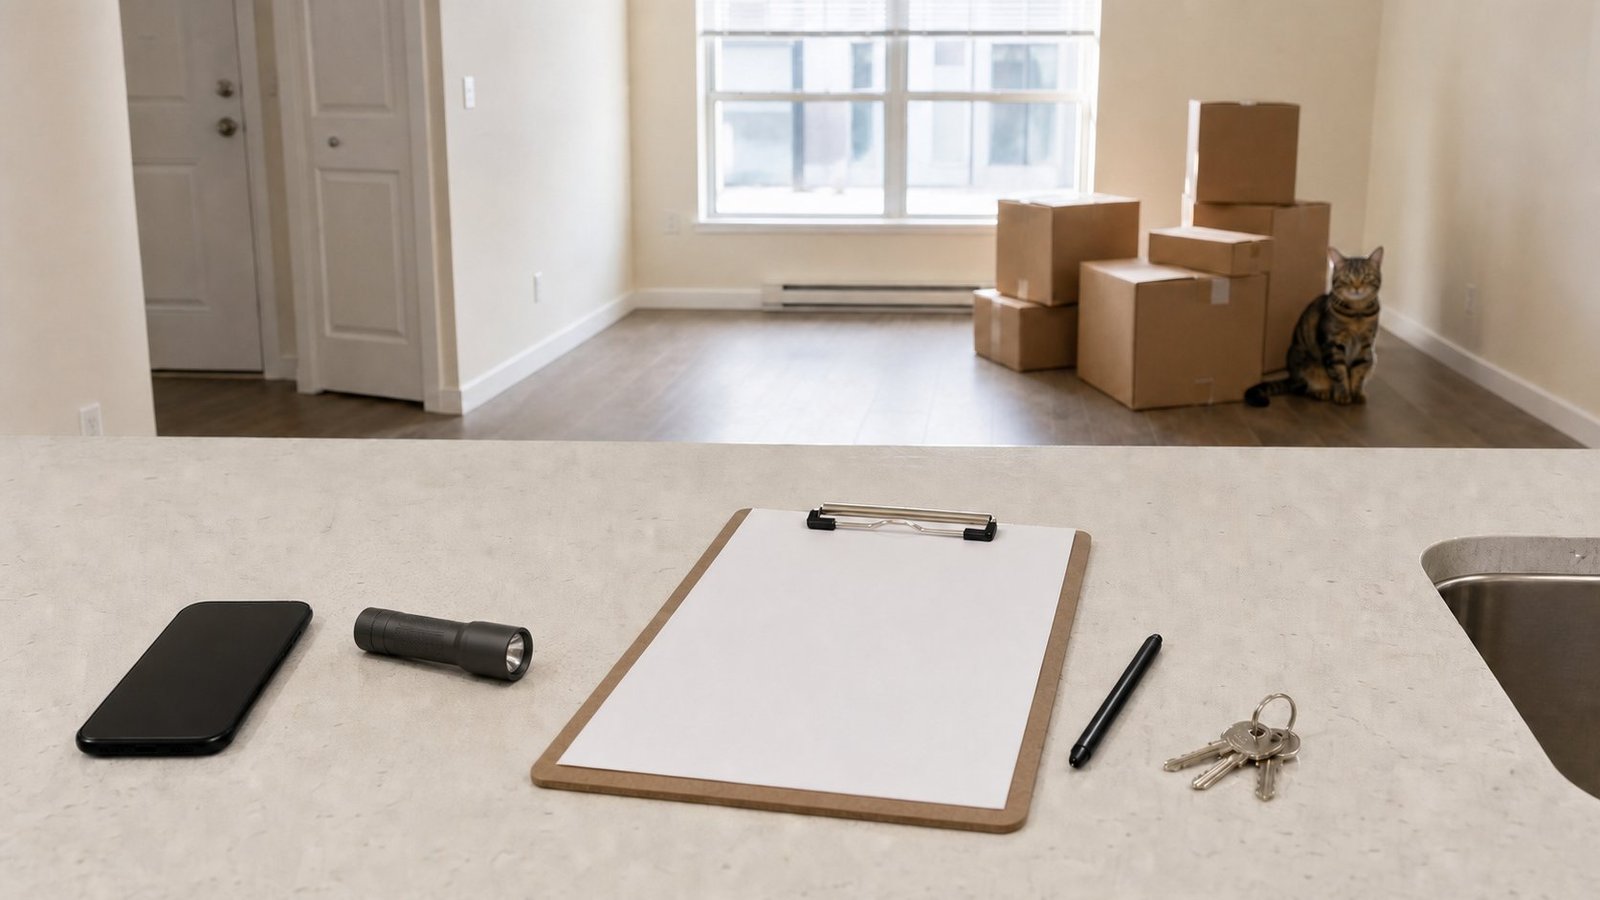
- a pen, a small flashlight, and your keys or access devices;
- the address, unit number, inspection date, and names of the people present; and
- a place to save the final form, photographs, video, and replies.
Keep this record with the lease and handover papers. The moving documents folder checklist shows how to separate carry-with-you papers from secure reference copies.
Use a route, not a random camera roll
Follow the apartment move-in inspection checklist from the entry through the home in one direction. In each area, take one wide view for context, then close views of marks, damage, missing items, or anything that does not work. Include a doorway, fixture, or room feature in close shots when possible so the location is understandable later.
A practical route is:
- entry door, locks, keys, intercom, and nearby walls;
- living areas, floors, walls, ceilings, windows, blinds, and outlets;
- kitchen cabinets, counters, sink, faucets, and provided appliances;
- bathroom surfaces, fixtures, storage, ventilation, and visible seals;
- bedrooms and closets; and
- balcony, patio, storage area, parking space, or other included areas.
Do not open service panels, move installed equipment, climb unsafely, or attempt repairs during the inspection. If you notice a possible electrical, gas, water, structural, pest, or security problem, stop using the affected item and contact the responsible property contact. Use emergency services when there is an immediate danger.
What to note in each room
Use the apartment move-in inspection checklist as a condition inventory, not just a repair list. For every room, look at condition and basic operation separately. Record existing scratches, holes, stains, chips, loose hardware, cracked surfaces, water marks, or missing parts in plain language. Then test only the everyday controls you are expected to use, such as doors, windows, lights, faucets, fans, and supplied appliances.
A strong note identifies the place and the observation without diagnosing the cause. “Bedroom 2, wall beside closet: two small holes” is more useful than “wall damaged.” “Cabinet below kitchen sink: surface damp at inspection” is safer than guessing where a leak began.
The New York City Department of Housing Preservation and Development says tenants should expect safe, well-maintained housing and advises renters with repair problems to contact the owner or manager and keep a record of their attempts. Your local standards and reporting channel may differ, but the recordkeeping principle is useful anywhere.
Separate condition notes from repair requests
Your apartment move-in inspection checklist can contain two labels:
- Existing condition: an item you want documented, even if no action is requested.
- Action requested: an item you want the landlord or manager to inspect, explain, repair, replace, or make safe.
This distinction helps prevent a long condition form from burying the important requests. For each action item, include the location, what you observed, whether the item can be used, and the photo filename or number. Ask for the next step rather than setting your own legal conclusion or repair deadline.
If utilities are not fully active, mark tests as “not tested” instead of “working.” After service begins, use the utility transfer checklist to record startup readings, account confirmations, and any service issue that needs follow-up.
Make the photos usable later
A hundred unlabeled images can be harder to use than twenty clear ones. Before leaving each room, check that the relevant photograph is sharp and that the issue is visible. Avoid filters and edits that could obscure the original condition.
Create one folder with a consistent name, such as the unit address and inspection date. If your phone preserves the original capture date, keep the original files. Add a brief index only for notable items: “IMG_2041 — entry door interior scratch,” for example. Store a backup in a secure account or drive you control; do not put lease records or access details in a public folder.
Photographs support the written report, but they do not replace a required landlord form or local procedure.
Submit, save, and verify
Review the apartment move-in inspection checklist for blank sections. Use “no issue observed” or “not tested” where accurate rather than leaving an ambiguous empty space. Sign or date only where the form calls for it, then submit it through the stated channel.
Your completion packet should contain:
- the exact version of the completed form you submitted;
- the original photos or video and a short image index;
- the sent email, portal receipt, or other submission confirmation;
- the manager’s acknowledgement and any response to repair requests; and
- follow-up evidence showing when an agreed item was checked or completed.
If there is no automated receipt, send a short message asking the recipient to confirm that the full report and attachments arrived. Open any returned copy to make sure every page and attachment is readable. Completion means you can retrieve the report and prove where it was sent—not merely that you pressed “submit.”
Why local instructions come first
Move-in forms, inspection rights, deposit rules, and the meaning of normal wear are not uniform. California Courts, for example, explains that deposit deductions can involve cleaning needed to return a unit to its move-in level of cleanliness and damage beyond normal wear and tear. That state-specific explanation shows why a contemporaneous condition record matters, but it should not be treated as the rule in another state.
Check your lease, property instructions, and an official state or local tenant resource. The California Courts security deposit guide and NYC HPD tenant responsibilities page are examples of official local guidance, not nationwide standards.
A five-minute finish line
Before closing your apartment move-in inspection checklist, confirm five things: every included area was visited, notable conditions have a location, repair requests are easy to find, originals are backed up, and receipt is documented. Then add any organizations that need the new address to your broader change of address checklist. Your move-in record can now stay quiet until a follow-up or move-out comparison calls for it.