Last reviewed: July 19, 2026
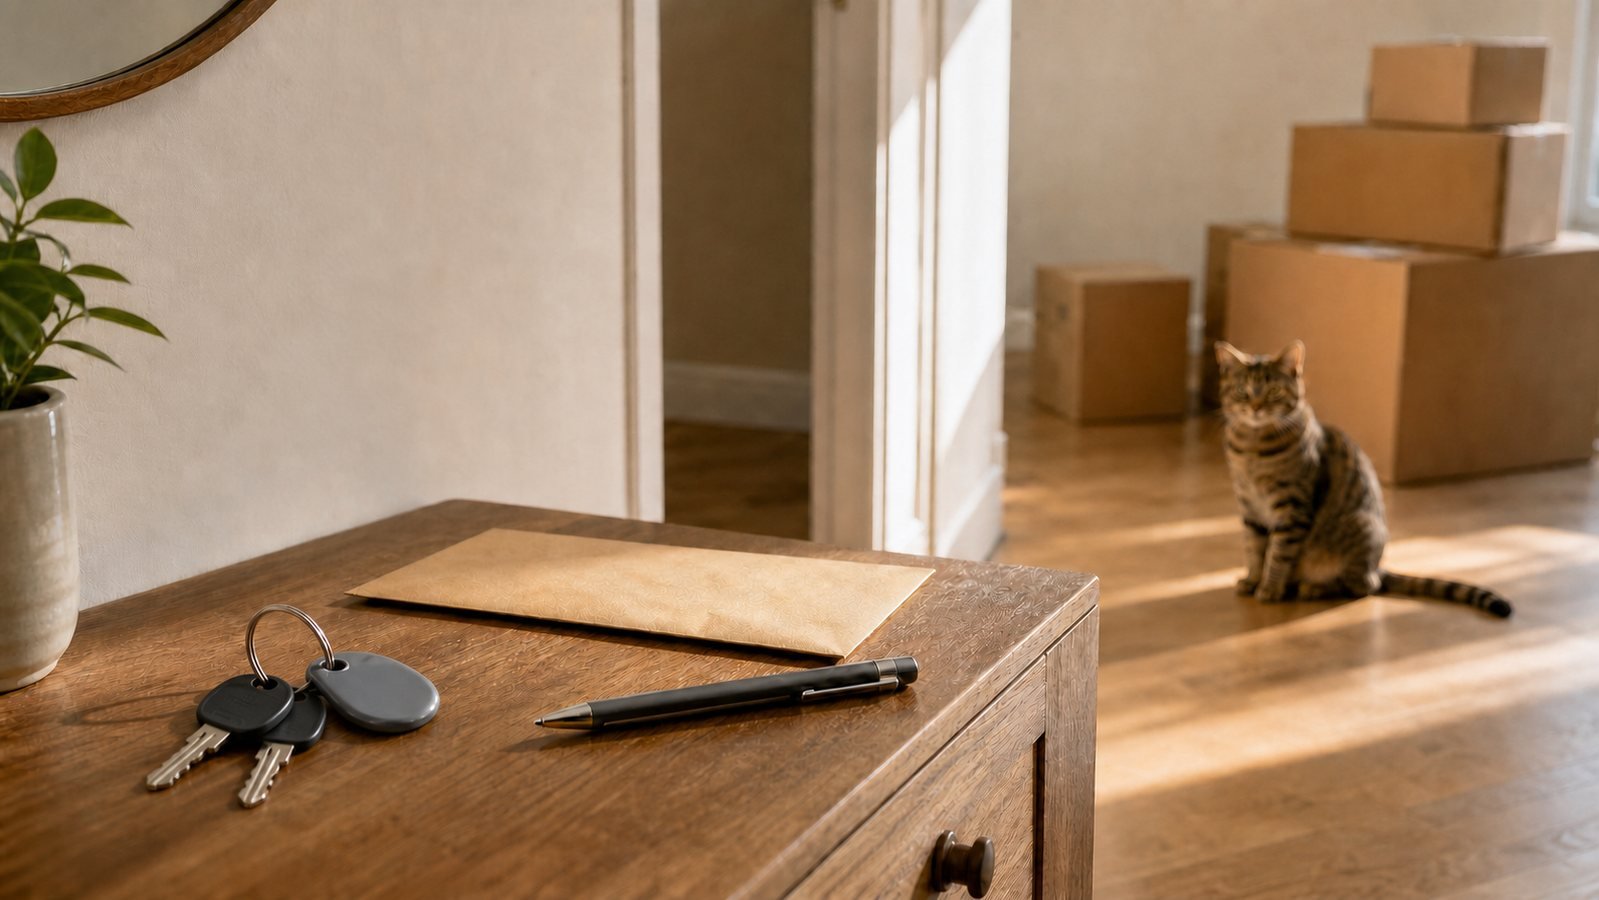
A rental key return checklist closes a small but important gap at the end of a move: showing which keys and access devices you returned, when you returned them, and who received them. A loose key in an unmarked envelope is easy to misidentify. A simple inventory and receipt make the handoff easier to verify.
Lease terms and move-out rules vary by state, city, housing program, and property. Follow the written instructions for your home and check an official local tenant resource when anything is unclear. This independent guide offers organization steps, not legal advice or a promise about a deposit.
Turn your key ring into an inventory
Start the rental key return checklist before the final walk-through. Put every item issued for the tenancy in one place, then compare it with the lease, move-in receipt, resident portal, or key log. Do not rely on memory if several residents had copies.
Keep the rental key return checklist private and practical: identify the type and number of items, not the information someone would need to use them.
Your count may include:
- unit-door and deadbolt keys;
- building, lobby, elevator, mailbox, storage, or laundry keys;
- garage remotes, parking transmitters, gate cards, and access fobs;
- temporary contractor or lockbox keys still in your possession; and
- property-owned parking permits or other access items the instructions say to return.
Describe each item without publishing sensitive details. “Two silver unit keys and one gray fob” is enough for your private record; do not photograph key-cut patterns for a public post or include entry codes in an ordinary email.
Resolve gaps before the last day
If your count differs from the property record, contact the landlord or manager in writing. Ask what is listed as outstanding and how a missing or damaged item should be handled. Do not quietly substitute a copy or assume an old remote can be discarded.
Return requirements can affect more than the door. The Los Angeles County Department of Consumer and Business Affairs explains, in its California-specific security-deposit guidance, that restoring property such as keys or a garage controller can be among the uses of a deposit. That is not a nationwide rule. It is a useful reason to check your own lease and local guidance rather than guessing.
If you kept your move records together, the moving documents folder checklist can help you find the original key receipt without unpacking every box.
Choose a handoff route you can prove
Ask where, when, and how the property accepts returns. A leasing office, staffed front desk, scheduled walk-through, secure drop box, and trackable shipment create different kinds of evidence. Confirm whether all residents’ items should be combined and whether the office provides a receipt.
Avoid leaving keys inside the unit, with a neighbor, or in an unlocked mailbox unless the authorized property contact gave that exact instruction. If you are told to use an after-hours drop, ask how to label the sealed envelope and how receipt will be confirmed. Never place the unit address and a bare key together where an unauthorized person could connect them.
Run the last-door sequence
Use the rental key return checklist only after the final removal and agreed inspection steps are complete. Returning access too early can leave you unable to retrieve an item or complete a scheduled task; returning it late can conflict with the lease. Follow the property’s stated cutoff rather than assuming midnight or office closing time.
- Check every room, closet, cabinet, appliance, storage area, balcony, and parking space for belongings.
- Record final utility readings where appropriate and complete the account steps in the utility transfer checklist.
- Take final condition photos for your private records. Compare them with your move-in inspection record instead of mixing both photo sets.
- Remove any personal smart-lock access, guest codes, or connected-home permissions only as the lease or manager instructs. Do not reset property equipment without authorization.
- Lock up by the authorized method, then return the full counted set through the confirmed channel.
If the final lock-up requires one key, keep that key separate until the door is secured and add it to the return envelope afterward. Recount at the handoff.
Ask for a receipt that identifies the handoff
A useful receipt connects the returned items to the tenancy. It should show the property or unit, return date, item count or description, delivery method, and recipient or office. A manager may use a paper form, email, or portal acknowledgement; you do not need to invent your own formal document if the property has a process.
Before the handoff, compare the receipt fields with your rental key return checklist so a fob or remote is not reduced to the vague word “keys.”
When no immediate receipt is available, save what you can: the written drop-box instruction, a timestamped photo of the sealed envelope before deposit, a shipping acceptance record, or the sent message asking the office to confirm receipt. Do not photograph access codes or expose a usable key pattern. Evidence that you prepared a package is not the same as confirmation that the authorized recipient received it, so follow up.
Handle mail, codes, and the deposit trail separately
Key return does not update your mailing address. Give the landlord a forwarding address through the method required by your lease or local rules, and keep proof of that separate submission. Texas Attorney General guidance, for example, says Texas renters must give the landlord a forwarding address to receive a returned security deposit. That requirement is Texas-specific; another jurisdiction may use a different process.
Also separate these close-out items:
- Physical access: keys, fobs, remotes, permits, and their receipt.
- Digital access: resident-portal status, approved code removal, and connected-device changes.
- Mailing: the forwarding address supplied to the landlord and direct address updates with senders.
- Money: deposit correspondence, itemized statements, refunds, or questions, handled under the applicable local procedure.
Keeping these trails distinct prevents an email about a new address from being mistaken for proof that a garage remote arrived.
Close the rental key return checklist
Your rental key return checklist is complete when the property’s expected inventory matches your return, the final handoff time is recorded, the authorized recipient has acknowledged receipt, and your proof opens correctly in your files. Save the inventory, instructions, receipt, and related correspondence with the lease rather than on a shared moving-company link.
After a reasonable interval set by the property’s process, check that the resident portal or account no longer shows an access item as outstanding. If it does, reply with the receipt and ask for the record to be reviewed. The finish line is not an empty key ring; it is a return you can retrieve and verify.