A new home water leak checklist gives you a dated baseline before a quiet drip becomes hard to trace. Once water service is available, set aside one controlled no-use period, look at the places you can reach safely, and keep a short record of what changed.
Water check at a glance
- ☐ Confirm whether your meter is individual, shared, or inaccessible.
- ☐ Photograph the starting reading without showing account details.
- ☐ Run a controlled no-use meter check.
- ☐ Look at toilets, taps, visible fittings, appliance connections, and outdoor points.
- ☐ Record the location and report route before attempting any work.
- ☐ Verify again after a repair or maintenance visit.
This is a household record check, not a plumbing diagnosis. If water is actively escaping, reaching electrical equipment, affecting a ceiling or wall, or requiring unsafe access, stop the routine inspection and use the property’s urgent maintenance or emergency route.
Prepare a small leak-check kit
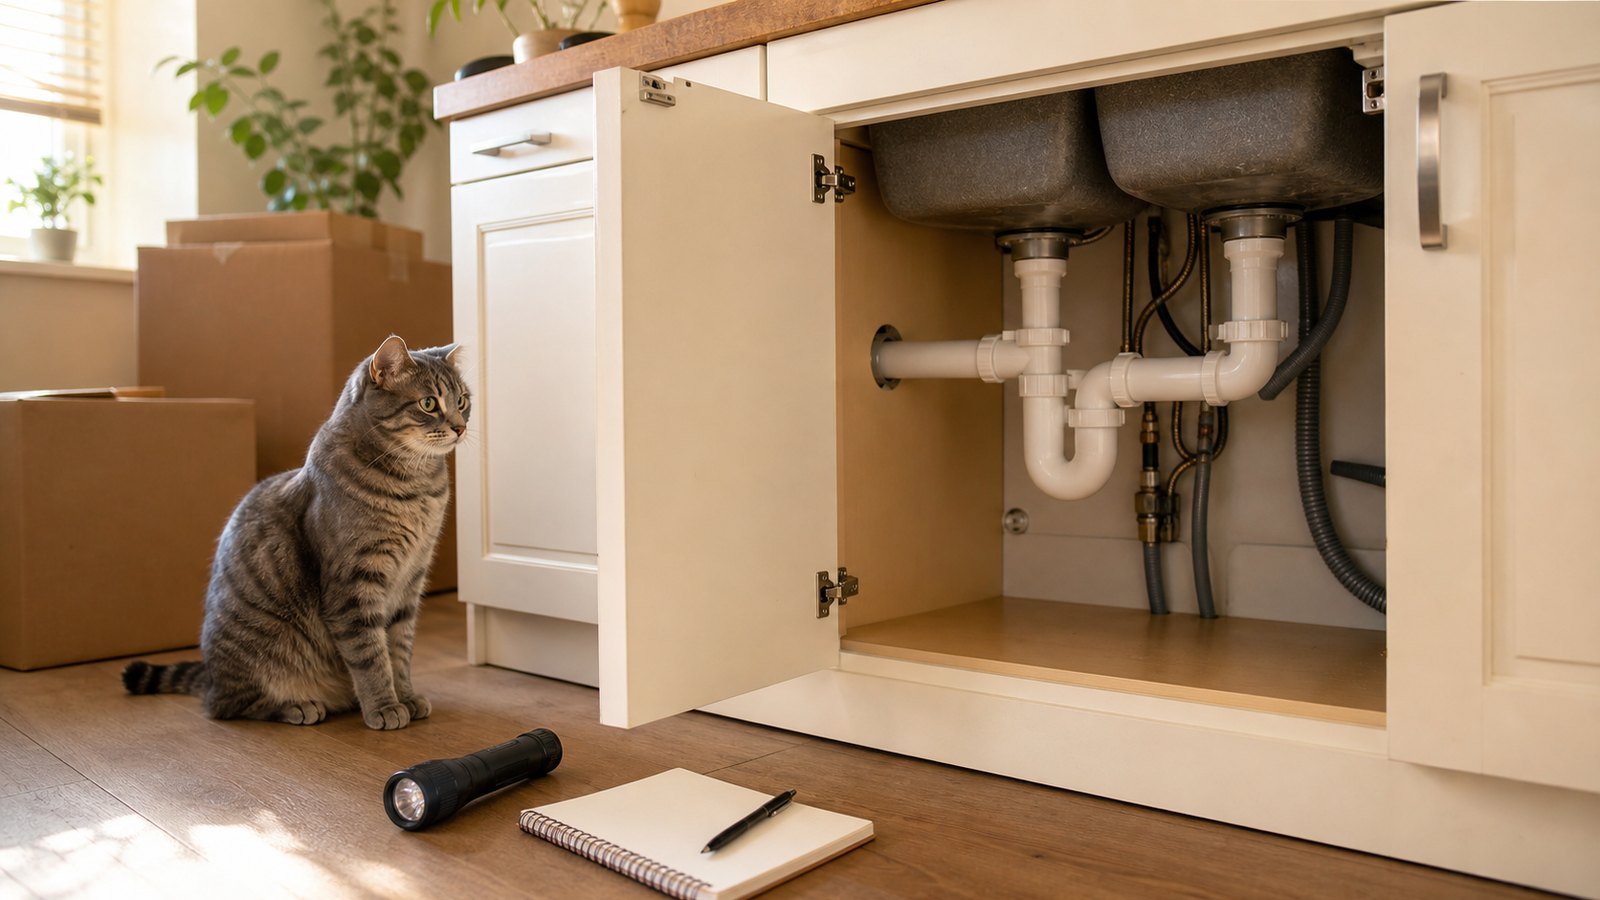
For this new home water leak checklist, keep the setup simple: a flashlight, phone camera, plain notes, and access information for the meter. A few drops of food coloring can be useful for an optional toilet test. If you rent or live in managed housing, add the landlord, maintenance desk, or property manager’s reporting method.
Before touching a valve, cover, appliance, or fixture, check who owns it and who may service it. Lease terms, HOA rules, shared systems, and utility boundaries vary. Observation and documentation are usually enough for this first pass.
If you have just opened the account, keep the service confirmation with your utility transfer records. That separates an account or service-start problem from a possible leak inside the property.
Build your new-home water baseline
Start the new home water leak checklist when the property is occupied but relatively quiet. Note the date, approximate time, and whether irrigation, a water softener, an ice maker, a dishwasher, a washing machine, or another automatic device may run on its own.
- Meter arrangement
- Write “individual,” “shared,” or “unknown.” Do not enter a locked utility area or remove a sealed cover.
- Starting evidence
- Take a clear meter photo or copy the reading. Crop out names, account numbers, barcodes, and neighboring addresses before sharing it.
- Property notes
- List any drip, stain, damp cabinet base, running-water sound, or existing maintenance ticket without deciding what caused it.
Run a controlled no-use meter check
EPA WaterSense recommends checking the water meter before and after a two-hour period when no water is being used. If the meter changes, EPA says you probably have a leak. The comparison is a screening step; it does not tell you which fixture is responsible.
- Choose a period when everyone in the home can avoid water use.
- Pause only equipment you are authorized to control. Do not disable a safety system or managed building equipment.
- Record the starting meter reading and time.
- Avoid taps, toilets, showers, water-using appliances, irrigation, and other intentional use for the interval.
- Record the ending reading in the same way.
If someone uses water or an automatic cycle starts, label the attempt “interrupted” and repeat later. A clean record is more useful than forcing a conclusion from a mixed interval.
Use the new home water leak checklist room by room
Look first; do not dismantle. EPA’s home leak checklist covers toilets, faucets, showerheads, tubs, appliances, and outdoor watering points. Your home may have only some of these.
Bathrooms
- ☐ Listen for a toilet that refills when nobody has flushed.
- ☐ Look for moisture around the toilet base, supply connection, and visible shutoff area.
- ☐ Check taps and showerheads after they are fully turned off.
- ☐ Note dampness below an accessible sink without moving fixed plumbing.
For a toilet tank that you are allowed to access, EPA suggests placing a few drops of food coloring in the tank. Color appearing in the bowl after 10 minutes indicates a leak. Flush immediately after the test to help avoid staining. Skip this if the fixture is sealed, unfamiliar, or covered by building rules.
Kitchen, laundry, and appliances
- ☐ Check visible faucet gaskets and pipe fittings for water on the outside.
- ☐ Look at the cabinet floor and nearby wall for fresh moisture.
- ☐ Inspect the visible area around dishwasher, refrigerator, and washing-machine connections without pulling out heavy equipment.
- ☐ Record an appliance model or service contact in your appliance records if follow-up is needed.
Outdoor and shared areas
- ☐ Check an outdoor spigot or hose connection while it is in normal use.
- ☐ Note unusually wet spots near irrigation only if the area is safely accessible.
- ☐ Report hallway, garage, utility-room, or shared-meter concerns to building management rather than opening equipment.
Save evidence that another person can use
The best new home water leak checklist record is brief enough to send to maintenance. For each concern, save the location, date and time, one wide photo, one close photo, what you observed, and whether the meter comparison was controlled or interrupted.
When you report it, save the ticket number, email, portal confirmation, or message screenshot. Keep these records with your moving documents folder, but store account details and photos of private areas securely.
Avoid writing “pipe failure” or naming a cause you have not confirmed. “Fresh water under the kitchen sink after normal use” is easier for a landlord or plumber to act on than an unsupported diagnosis.
Verify instead of assuming it is fixed
After a repair or maintenance visit, return to the same observation point. Photograph the area when dry, note the work reference, and repeat the controlled meter comparison if it is appropriate for the issue. Mark the record “verified” only when the follow-up observation supports that result.
Some homes use leak detection or flow monitoring devices. EPA’s WaterSense guide to these devices explains that features and installation arrangements differ. An alert can help identify irregular use, but it is not a reason to ignore a visible leak or to install equipment without permission.
If the reading still changes
- Repeat once under cleaner conditions. Check whether a toilet was used or an automatic appliance ran.
- Confirm the meter serves your home. In a multifamily property, a shared or incorrectly identified meter can make the test inconclusive.
- Compare the same evidence. Use consistent photos and times rather than memory.
- Escalate the record. Send the observation, meter comparison, photos, and earlier ticket reference to the responsible person.
- Use the urgent route when conditions change. Active release, electrical exposure, structural damage, or unsafe access is no longer a routine checklist task.
Close out your new home water leak checklist
Finish the new home water leak checklist with one dated summary: meter arrangement, controlled-test result, locations checked, concerns reported, confirmation saved, and follow-up status. That single page gives you a starting point for later bills or maintenance without pretending that a visual check can prove the condition of hidden plumbing.
Life Admin Checklist is an independent informational site and is not affiliated with the EPA, a water utility, landlord, HOA, or plumbing provider. Property rules and repair responsibility vary; use qualified help for work beyond safe observation.