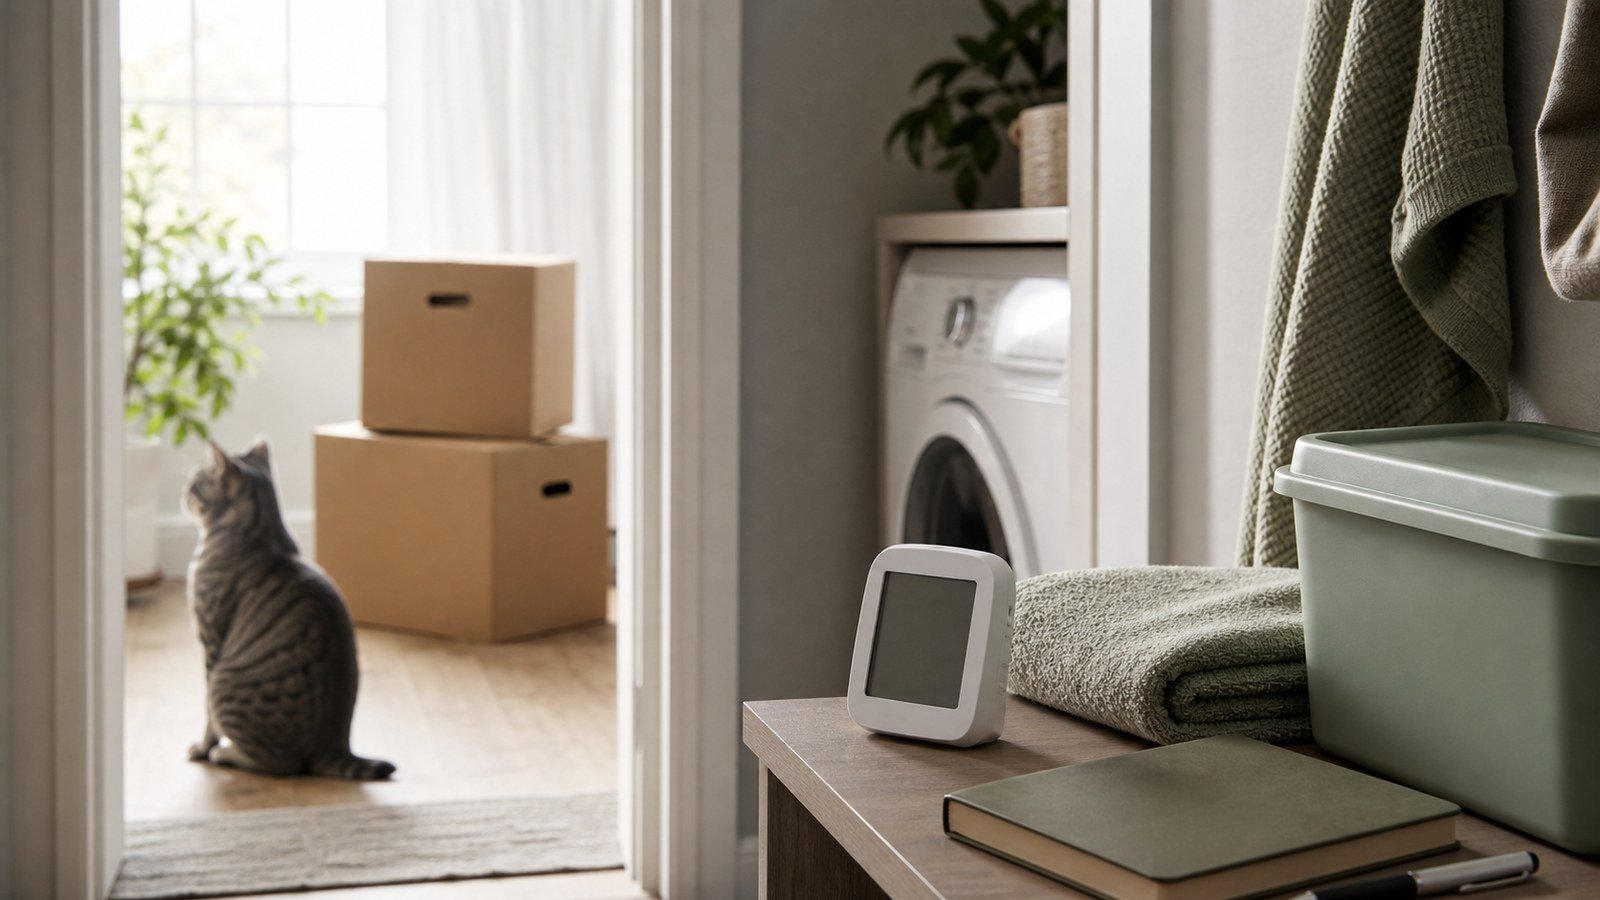
A new home moisture checklist gives you a simple baseline before unpacked furniture and boxes hide the clues. You are not diagnosing a building or deciding who is responsible. You are noting where moisture appears, drying ordinary wet items promptly, and sending a clear record to the right property contact when the source needs attention.
First pass: check before you fill the rooms
Take one slow walk through the home while walls, floors, cabinets, and utility areas are still easy to see. Use your phone camera, a plain note, and—if you already own one—a basic humidity meter. Do not move panels, open equipment, or enter an unsafe area.
- ☐ Look under sinks and around the base of toilets, tubs, showers, and visible supply lines.
- ☐ Check window sills, exterior-door thresholds, and cold corners for beads of water or dampness.
- ☐ Look at ceilings and the walls below bathrooms, roofs, or utility spaces for fresh staining, bubbling, or a soft-looking finish.
- ☐ Check the floor around the water heater, washing machine, dishwasher, refrigerator connection, and HVAC drain area without touching equipment.
- ☐ Lift only loose, accessible mats or items you own. Do not pull up flooring or carpet.
- ☐ Notice persistent musty odors, but record the location rather than guessing at the cause.
This first pass complements the site’s new home water leak checklist. That guide focuses on spotting possible plumbing leaks and using the water meter when appropriate. This new home moisture checklist also covers condensation, damp belongings, room conditions, and a repeatable record.
Set up a small moisture log
A useful log is specific and neutral. For each observation, save the date and time, room, exact location, what you could see or feel without disturbing the area, and one wide photo plus one close photo. Avoid including mail, keys, family photos, screens, or other personal details in the frame.
| Record | Useful detail |
|---|---|
| Location | “Bedroom window, lower-left sill,” not just “bedroom” |
| Condition | Dry, damp, droplets, stain, or odor—without naming a cause |
| Context | After a shower, rain, laundry cycle, cooking, or HVAC use |
| Evidence | Original photo filenames and the message or maintenance ticket |
| Recheck | Same place, similar angle, and a new time stamp |
If you rent or live in a managed building, compare this record with your move-in condition report and follow the lease or portal instructions. The apartment move-in inspection checklist can help keep general condition evidence separate from a maintenance request.
Dry ordinary wet items without hiding the source
The U.S. Environmental Protection Agency says water-damaged areas and items should be dried within 24–48 hours to help prevent mold growth. Start with safe, ordinary steps: move your own damp boxes or textiles to a dry place, wipe accessible condensation, and increase normal air circulation if the equipment and weather make that sensible. Keep wet cardboard and fabric away from walls while they dry.
Do not paint, caulk, or cover a stained or damp surface simply to make it look finished. EPA guidance says the water problem needs to be fixed, items dried completely, and moldy surfaces cleaned before painting. Porous materials can be difficult to clean once moldy, so a questionable ceiling tile, carpet section, wall cavity, or valuable item deserves the appropriate property or restoration decision rather than an improvised repair.
New home moisture checklist for room conditions
Humidity is only one clue, not a verdict. EPA recommends keeping indoor relative humidity below 60%, ideally between 30% and 50% when possible. Conditions vary with climate, season, building design, and equipment, so record a meter reading with its room and time instead of treating one number as proof of a defect.
- ☐ Confirm bathroom and kitchen exhaust routes are unobstructed and use them as intended.
- ☐ Make sure a clothes dryer is vented as the appliance and building instructions require; do not alter a vent yourself.
- ☐ Leave a little viewing space around exterior walls and cold corners during the first days of unpacking.
- ☐ Recheck windows, walls, or pipes where condensation appeared after the room returns to normal use.
- ☐ Keep air-conditioning drip pans and accessible drain areas visible; report standing water or an obstructed building drain rather than dismantling it.
Add the room reading and any recurring condensation to your new home moisture checklist. A pattern tied to a place and activity is more useful to a property contact than a single unlabeled photo.
Send a maintenance note that can be acted on
Turn the relevant lines from your new home moisture checklist into a short maintenance note. Use the reporting route in your lease, closing documents, warranty, HOA instructions, or building portal. State what you observed, where and when you observed it, whether water is still active, and what safe temporary step you took. Attach only the clearest photos. Ask for the ticket number, next step, and the safest way to use the area while it is reviewed.
Do not assign legal responsibility in the first message. Duties and response routes can vary by lease, building, warranty, insurer, and local rules. If water is near electrical equipment, the ceiling is sagging, sewage is involved, or entering the area feels unsafe, stay clear and use the building’s urgent or emergency route rather than continuing the checklist.
Recheck the same points
Return to each marked location after ordinary use or the next relevant weather event. Compare the same angle and note whether the surface is dry, unchanged, or wetter. Keep the original ticket, replies, appointment details, invoices you paid, and completion message together. If a repair was made, record what was described and whether the condition returned; do not claim the underlying cause was solved unless the responsible party confirmed it.
The new home moisture checklist is complete when every observation has one of three outcomes: dry on recheck, sent through the correct property route, or kept open with a dated next step. If boxes or stored food are also creating damp or pest-friendly corners, use the separate new home pest prevention checklist for unpacking and storage routines.
When the checklist should stop
Visible widespread growth, repeated water entry, hidden wet materials, or uncertainty about safe cleanup is beyond a simple move-in record. EPA’s mold and moisture guide for homeowners and renters explains moisture control, cleanup boundaries, and when professional help may be appropriate. Its moisture problems chapter also covers humidity, condensation, ventilation, and hidden moisture locations.
Use this new home moisture checklist as an observation and follow-up tool, not a mold test, repair specification, or legal opinion. Building instructions, lease terms, climate, and local requirements can differ.